(English Version below)
Hey,
Es sind mehrere neue Updates online.
VAN PI OS v2.0.9
Hier geht’s zum Changelog
Hier geht’s direkt zum Download
Pekaway Connect v1.0.9
Für iOS im App Store
Für Android im Playstore
Pekaway Blue v1.1.0
Für iOS im App Store
Für Android im Playstore
Pekaway Wireless Shunt und LTE Bridge 4G/4G+ jeweils neu v1
zu finden unter flashesp.pekaway.de
Das Touchdisplay bleibt erstmal ohne Update bei v2.0.4
Aber der Reihe nach:
Für den Shunt und die Bridge war das erstmal das letzte Update, das manuell per Kabel am Rechner erfolgen muss. Beide Geräte haben in diesem Update die Option erhalten per OTA über die Pekaway Blue App geupdated zu werden. Dementsprechend unterstützt also Pekaway Blue jetzt logischerweise die Update Funktion. Dazu kann die LTE Bridge ebenfalls über Pekaway Blue eingerichtet werden und der ursprüngliche Hotspot der Bridge wurde entfernt. Die Funktionen, die dafür sorgen dass die Bridge Verbindungen (LTE/Wifi) wieder aufbaut, sollten diese verloren gehen, wurden grundlegend überarbeitet und funktionieren jetzt deutlich besser.
Die Einstellungen für die Bridge müssen neu gemacht werden in der Pekaway Blue App, da das interne Dateisystem der Bridge jetzt anders funktioniert.
Zusammengefasst. Einrichtung und Update sowie Überwachung des jeweiligen Status für LTE Bridge und Wireless Shunt → Pekaway Blue
Wenn entsprechend eingerichtet (Wifi/MQTT), schicken beide Geräte ihre Daten an VAN PI OS, sodass man dann wiederum alles im Dashboard/NR/App bzw. Pekaway Connect sehen kann.
Pekaway Connect wurde designtechnisch etwas überarbeitet und zeigt jetzt aktuelle MPPT Werte direkt im Homescreen an, sowie aktuelle Infos zum Status der LTE Bridge über das Einstellungsmenü. Ruuvitags können für den Homescreen ausgewählt werden und zeigen im Bereich Klima ihren Batteriestatus mit an. Die Namen für die Temperatursensoren und Tankgeber können jetzt deutlich länger sein, die App kann neuerdings damit umgehen ![]()
Außerdem neu dazugekommen ist die Unterstützung für die Boilersteuerung und den Dometic RC10 (CI-Bus) Kühlschrank aus der App heraus.
Dazu können dynamisch und relativ leicht über VAN PI OS bzw. NR weitere Relais, Dimmer und Custom Daten an die App geschickt werden. Weiter unten mehr dazu.
Zusätzlich wurde die Funktion überarbeitet, die mitbekommt wenn sich der Verbindungsstatus des Handys ändert. Die ursprüngliche Idee war damit automatisch zwischen lokalem und entfernten Zugriff umschalten zu können, leider kam es dabei aber dazu, dass sich immer wieder die Verbindungsseite geöffnet hat, teilweise im Sekundentakt. Die App bekommt jetzt zwar immer noch mit wenn das WLAN auf einmal weg ist, zeigt aber “nur” noch eine entsprechenden Hinweis rechts oben an, dass man sich doch bitte neu verbinden möge. Andersrum, wenn die aktuelle Verbindung remote ist und dann das Handy auf WLAN wechselt, finden die Zugriffe weiterhin über den Remote Server statt! Also keine automatische Umschaltung mehr. Da bitte drauf achten, sollte Datenvolumen relevant sein. Da geht zwar nicht wirklich viel drüber, aber man muss ja sparen wo man kann ![]()
Falls ihr es noch nicht wusstet:
Wenn ihr auf die Batterie/MPPT Karte klickt, könnt ihr mehr Daten sehen (BMS). Genauso bei den Heizungen, klickt ihr dort auf den Bereich in dem “Laufzeit” steht, seht ihr mehr Daten.
Wenn ihr ein Relay in der App lange anklickt könnt ihr es sperren (nur bei euch in der App), damit ihr nicht mehr aus Versehen schalten könnt.
Und Fun-Fact: Wenn ihr die Nordlichter seht, seid ihr nicht lokal verbunden ![]()
VAN PI OS Update Highlights
- Die Relays vom In-Out-X können für die Boilersteuerung benutzt werden
- Für Autoterm und China-Heater wurde ein Fehler korrigiert, der die Zieltemperatur immer auf 0 gesetzt hat, wenn der Stop Befehl von der Timer Funktion kam
- Dometic RC10 über CI-Bus Unterstützung
- Die Switches 1-8 können als “Software-Relais” gesetzt werden (im NR-Editor), dann kann man damit individiuelle Funktionen erstellt werden. Also man steuert nicht mehr direkt das Hardware-Relais auf dem Board, sondern kann sich selber Funktionen schreiben und definieren was passieren soll, wenn man den Switch betätigt.
- An den Anschlüssen für die Tankgeber können 10k NTC Temperatur Sensoren angeschlossen werden, diese ersetzen dann (wenn gesetzt) den jeweiligen Wasserstand und zeigen stattdessen eine Temperatur an. Diese Temperatur kann dann wiederum an allen möglichen relevanten Stellen benutzt werden, z.B. Boiler Steuerung, Temperatur Automationen etc.
- CAN-Bus Integration (Core Pro)
→ Das Victron Batterie Protokoll ist implementiert und kann über CAN-Bus benutzt werden. Die Bitraten 125kbits, 250kbits, 500kbits und 1000kbits können ausgewählt werden, wenn man selber Geräte hinzufügen möchte. Die CAN-Frames werden zusätzlich aus dem Flow per MQTT geschickt und können an anderer Stelle weiterverarbeitet werden. Die config.txt hat eine Anpassung bekommen um den CAN-Bus zu aktivieren - Es gibt einen neuen Flow “Example Functions”
NeuerFlow: Example Functions
In diesem Flow stellen wir euch Beispiele für verschiedenste Funktionen bereit. Wenn ihr diese nutzen wollt, kopiert sie euch bitte in einen neuen Userflow, weil der Flow mit den Beispielen bei einem Update überschrieben wird! Die Nodes im Beispiel Flow sind alle deaktiviert, damit nicht aus Versehen etwas ungewolltes passieren kann. Alle Beispiele sind mit Kommentar-Nodes und Inline-Kommentaren zur Erklärung versehen.
Folgende Beispiele sind aktuell vorhanden:
- Switch als “Software-Relais” nutzen
→ zugegebenermaßen ist dieses Beispiel recht komplex, aber im Grunde ist damit möglich, dass wenn ihr einen Switch im Dashboard benutzt, dann wird das Signal nicht mehr an die Hardware-Relais geleitet, sondern nur per MQTT. Das Signal nehmt ihr dann per MQTT-In Node entgegen und könnt eigene Funktionen damit auslösen. Die Beispiel-Nodes beinhalten noch Code, der genutzt wird um die Zeile unter dem eigentlichen Switch im Dashboard ein-/auszublenden und den Text zu bearbeiten. Deswegen ist es etwas komplizierter geworden, aber ich hoffe die Grundidee ist verständlich. - Trumanita aus dem Touchdisplay und der App heraus steuern
- 11-Punkte Kalibrierung für Wassertanks benutzen
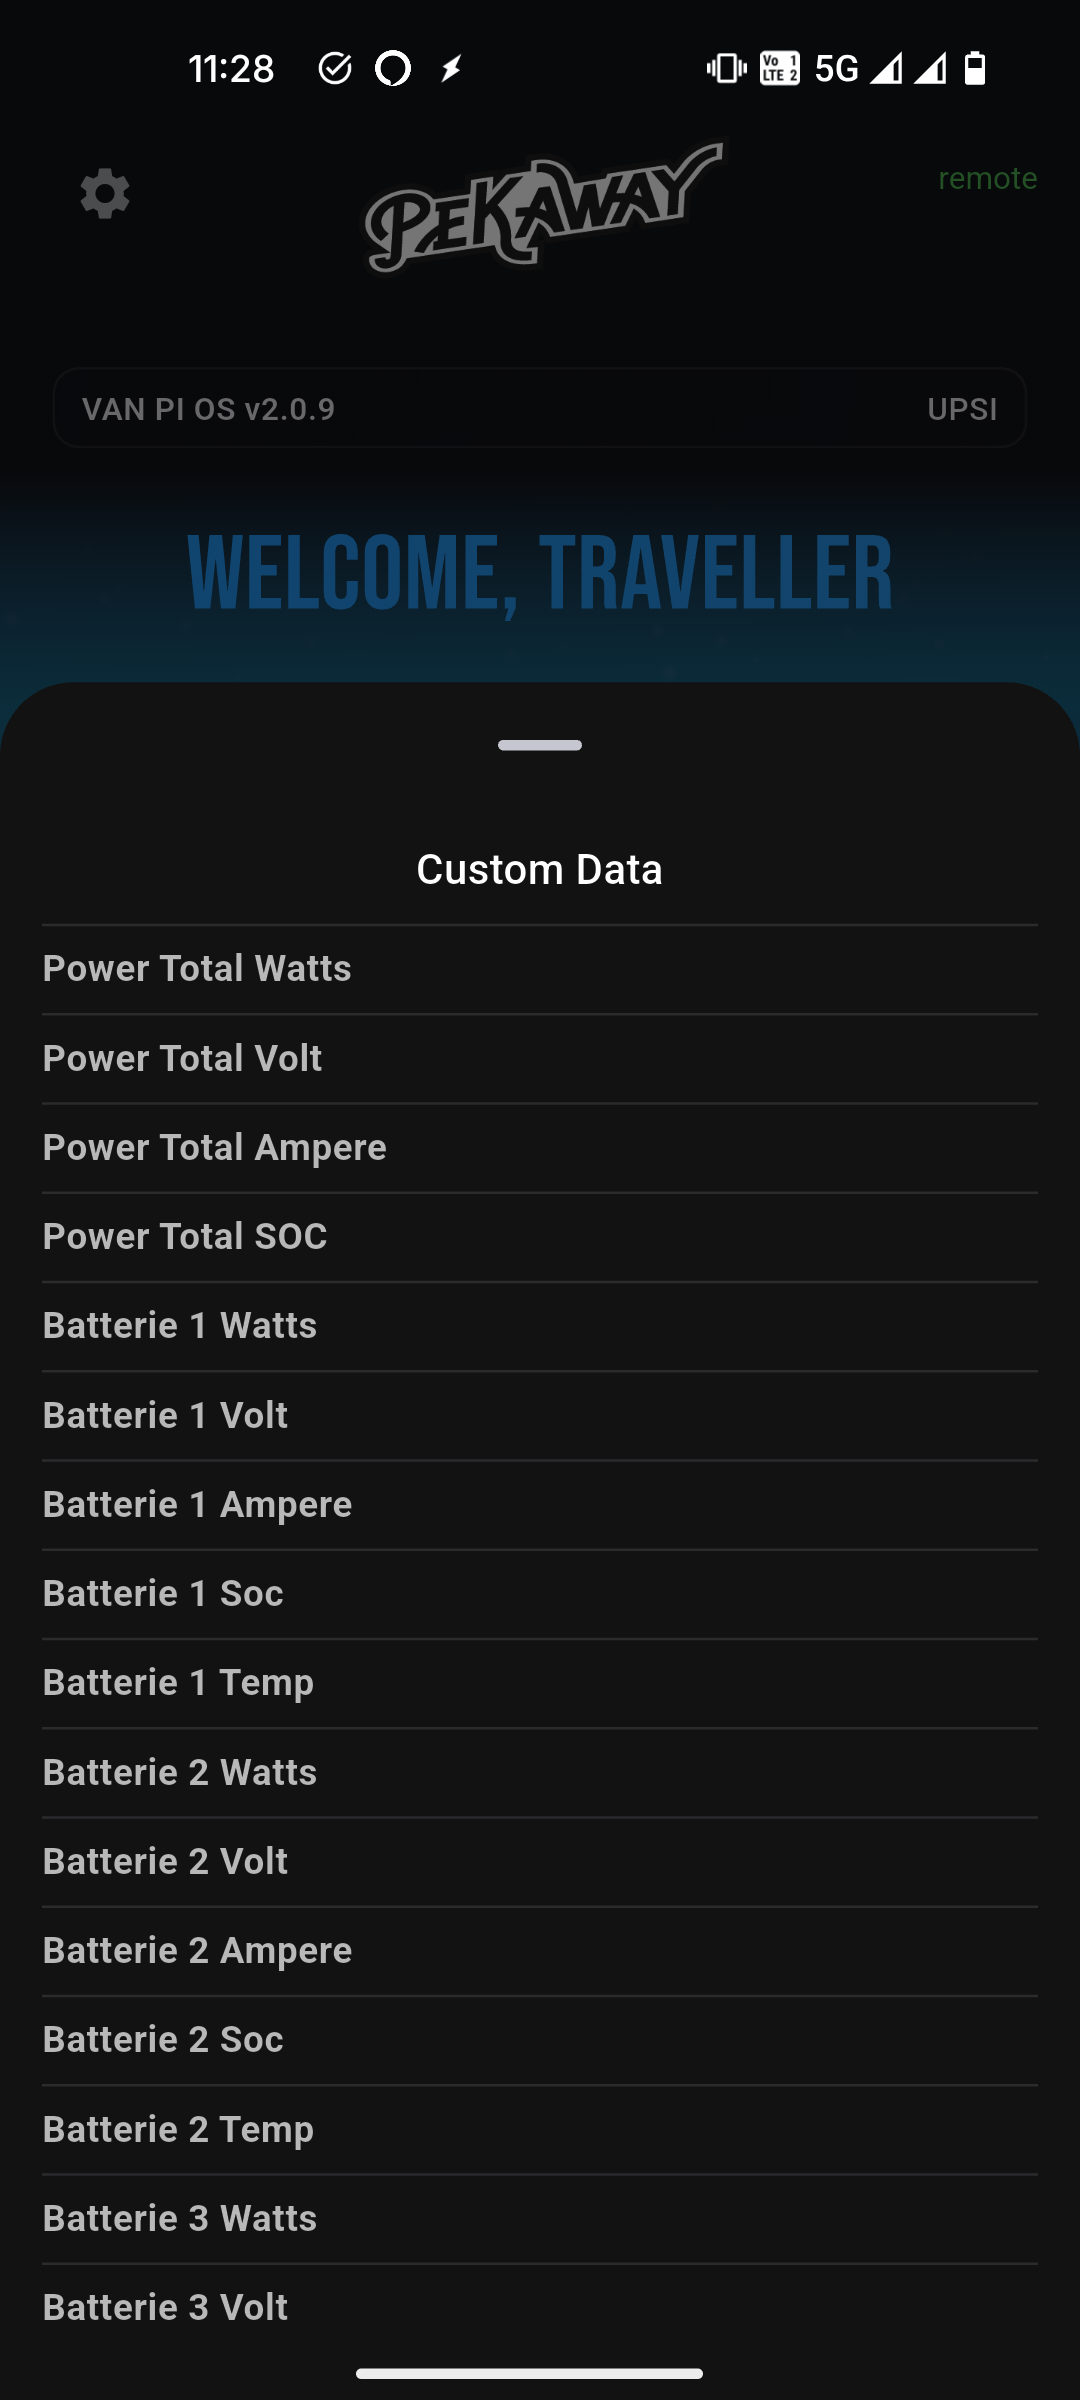
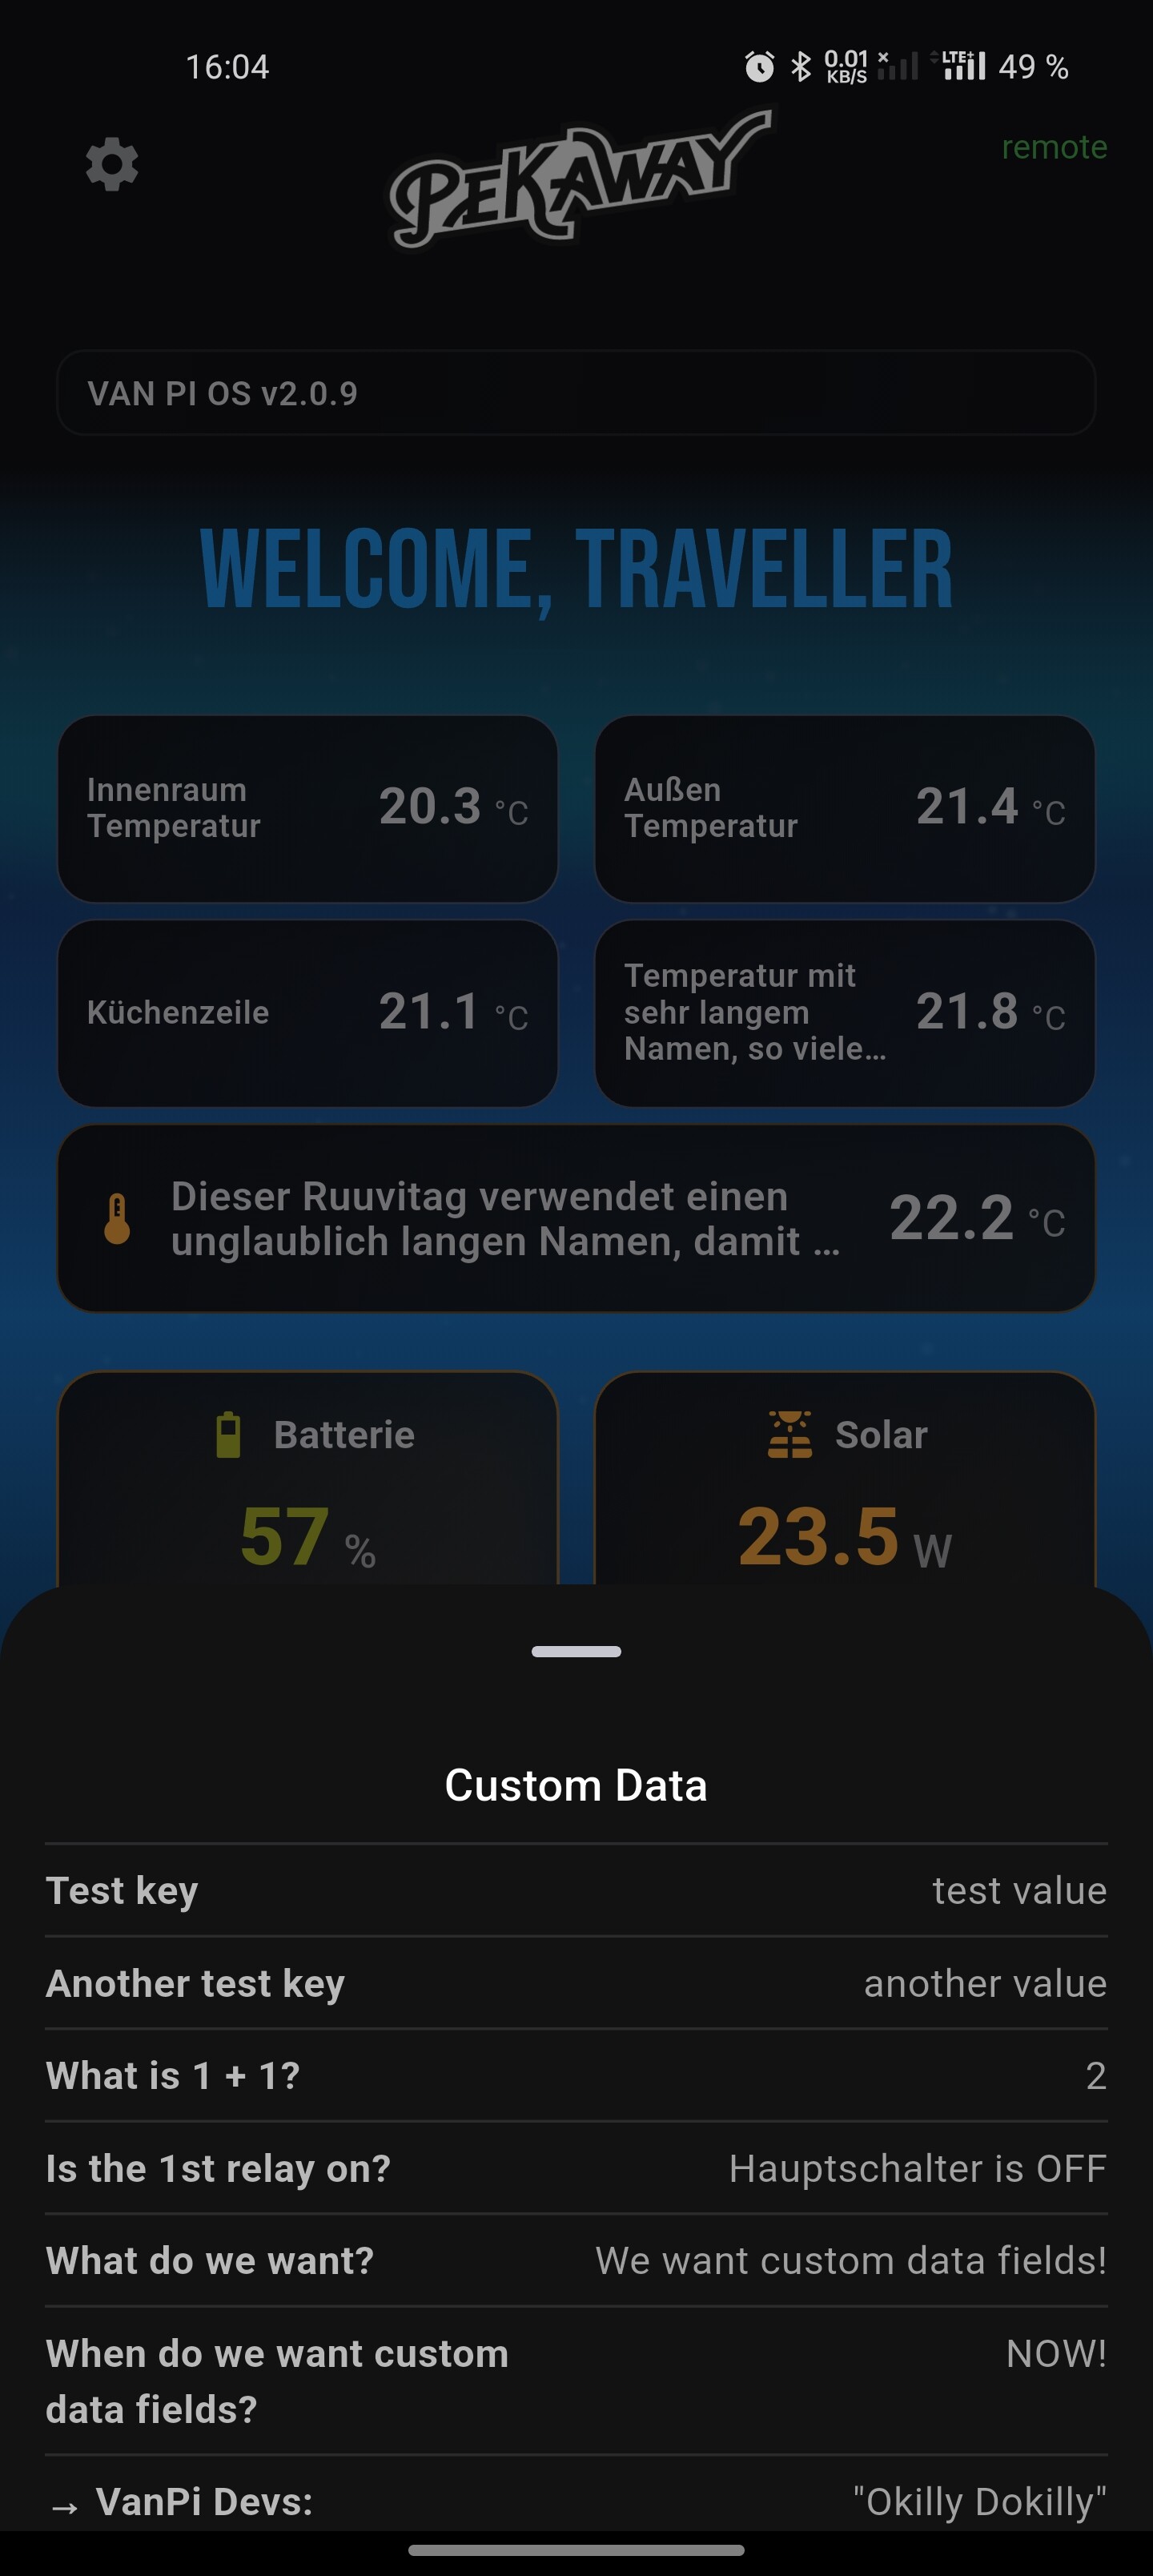
- Custom Daten in der App anzeigen
→

→ Es wird erstmal eine variable gesetzt, dass wir Custom Data haben wollen, damit die API weiß, dass sie das mitsenden muss. Dann können die key:value Paare, die wir haben wollen geschrieben werden, die wiederum als Object in einer anderen Variable gespeichert werden, das ist die Variable mit den Daten, die die API dann abfragt und mit zur App schickt. In der App können diese Werte aufgerufen werden, in dem man auf den Bereich mit Time-To-Go und Uptime unten im Homescreen klickt:
Das Updatescript hat zwei kleinere Neuerungen bekommen:
Wenn ihr zusätzliche Paletten installiert, die config Nodes benutzen, dann werdne die in die flows.json gespeichert und wurden dementsprechend überschrieben bei einem Update. Jetzt wird erst die originale .json durchsucht nach solchen configs und es wird eine datei erstellt um diese zwischenzuspeichern, genau wie es bei den userflows abläuft. Dann wird die neue .json vom Server geladen und die custom configs und userflows werden wieder zurückgeschrieben.
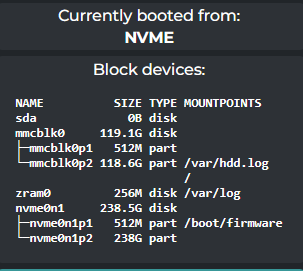
Am Anfang vom Updatescript wird geprüft ob noch Platz vorhanden ist im Ordner /var/log. Ist das nicht der Fall, kann es zu einem Error kommen, weil wir dort eine logfile schreiben während des Udpates. Ist also nicht genug Platz da, werden alle Dazeien die größer als 2mb sind auf 0 gesetzt (also der Inhalt wird gelöscht). Und nur um sicher zu gehen: Ist dann immer noch nicht genug Platz (was eigentlich nicht mehr sein kann aber Dinge passieren), werden die 5 größten Dateien auf 0 gesetzt.
English Version
Hey,
Several new updates are now online.
VAN PI OS v2.0.9
Here is the Changelog
Here is the direct download
Pekaway Connect v1.0.9
For iOS in the App Store
For Android in the Play Store
Pekaway Blue v1.1.0
For iOS in the App Store
For Android in the Play Store
Pekaway Wireless Shunt and LTE Bridge 4G/4G+ both now updated to v1
Available at flashesp.pekaway.de
The touch display will remain at v2.0.4 for now.
But one step at a time:
For the Shunt and the Bridge, this is the last update that must be done manually via cable on a computer. Both devices now support OTA updates through the Pekaway Blue app. Accordingly, Pekaway Blue now supports the update function. In addition, the LTE Bridge can now also be set up directly through Pekaway Blue, and the original hotspot of the Bridge has been removed.
The mechanisms responsible for reconnecting the Bridge (LTE/WiFi) when a connection is lost have been fundamentally reworked and now work significantly better.
Settings for credentials etc. have to be made once again through the Pekaway Blue App, since we changed how the internal filesystem of the bridge works.
In summary: Setup, updates, and status monitoring for the LTE Bridge and Wireless Shunt → Pekaway Blue.
If configured accordingly (WiFi/MQTT), both devices send their data to VAN PI OS, so everything can be viewed in the Dashboard/Node-RED/App or Pekaway Connect.
Pekaway Connect has received some design improvements and now shows current MPPT values directly on the home screen, as well as the current status of the LTE Bridge through the settings menu.
Ruuvitags can now be selected for the home screen, and they also display their battery level in the climate section.
Sensor names for temperature sensors and tank senders can now be much longer - the app can finally handle that.
Also newly added: support for boiler control and the Dometic RC10 (CI-Bus) fridge directly from the app.
Additionally, more relays, dimmers, and custom data can be dynamically and easily sent to the app via VAN PI OS or Node-RED. More on this below.
The function that detects when the phone’s connection changes has also been reworked.
Originally, it was intended to automatically switch between local and remote access; however, this sometimes caused the connection page to open repeatedly, even every second in some cases.
The app still detects when WiFi suddenly disappears, but now it only shows a notification in the top right asking you to reconnect.
Conversely, if the current connection is remote and the phone switches to WiFi, the app will continue to access via the remote server. No automatic switching anymore. Please keep that in mind if mobile data volume matters. The traffic is small, but savings are savings.
In case you didn’t know: If you tap on the Battery/MPPT card, you can see more data (BMS).
The same applies to the heaters - if you tap on the section where “Runtime” is displayed, additional details appear.
If you long-press a relay in the app, you can lock it (only locally in your app), so you can’t accidentally switch it anymore.
And a small fun fact: If you see the northern lights animation, you are not connected locally.
VAN PI OS Update Highlights
- The In-Out-X relays can now be used for boiler control
- For Autoterm and China heaters, a bug was fixed where the target temperature was always set to 0 when a stop command came from the timer function
- Dometic RC10 CI-Bus support
- Switches 1–8 can be used as “software relays” (set in the Node-RED editor), allowing custom functions. Meaning: the dashboard switch no longer directly controls the hardware relay; instead, it sends MQTT, and you can write your own logic to define what should happen when that switch is used
- The tank sender inputs can now use 10k NTC temperature sensors. When enabled, they replace the water level reading and display a temperature instead. This temperature can be used in any relevant logic such as boiler control or temperature automations
- CAN-Bus integration (Core Pro)
- Victron battery protocol has been implemented and can be used over CAN-Bus
- Bitrates 125 kbit, 250 kbit, 500 kbit, and 1000 kbit can be selected when adding your own devices
- CAN frames are also sent via MQTT from the flow and can be further processed elsewhere
config.txthas been updated to enable CAN-Bus
- New flow “Example Functions”
New Flow: Example Functions
This flow provides examples for various functions.
If you want to use them, please copy them to a new user flow, because the example flow will be overwritten when updating. All nodes in the example flow are disabled so that nothing unintended happens. Each example includes comment nodes and inline comments for explanation.
Currently available examples:
- Using a switch as a “software relay”
This example is admittedly quite complex, but it allows this: when you use a switch in the dashboard, the signal is no longer sent to the hardware relay but only via MQTT. You then handle that MQTT signal with an MQTT-In node and trigger your own functions.
The example nodes include code used to show/hide the line under the switch in the dashboard and edit the text, which makes it a bit more complicated - but the core idea should be clear. - Controlling the Trumanita from the touch display and the app
- Using an 11-point calibration for water tanks
- Displaying custom data in the app
- A variable is set to indicate that we want custom data so that the API knows to include it
- Then the key/value pairs are defined and stored as an object in another variable
- This variable is what the API reads and sends to the app
- In the app, these values can be viewed by tapping the Time-To-Go / Uptime section at the bottom of the home screen
The update script has received two small improvements:
If you install additional palettes that use config nodes, these configs were previously stored inside the flows.json and were therefore overwritten during an update. The script now first scans the original .json for such configs and creates a separate file to store them temporarily, just like it already does with user flows. After that, the new .json is downloaded from the server, and the custom configs and user flows are written back into it.
At the beginning of the update script, a check is now performed to ensure there is enough free space in the /var/log directory. If there isn’t, an error could occur because we generate a logfile there during the update.
So, if there is not enough space available, all files larger than 2 MB are truncated to 0 bytes (their contents are cleared). And just to be safe: if there is still not enough space afterwards (which should theoretically not happen, but anything is possible), the five largest remaining files are also truncated to 0.